Create an Account
- Open the portal link provided by your agent.
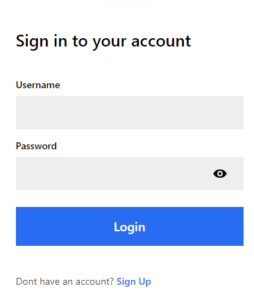
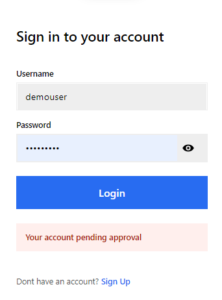
- If you already have an account, simply enter your Username and Password and click Login. Otherwise click Sign Up.
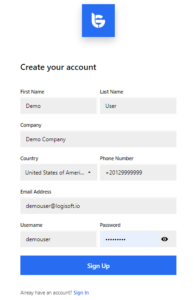
- Enter your First Name, Last Name, your Company name, your Country, Phone Number, Email Address, Username, and Password.
- Click Sign Up.
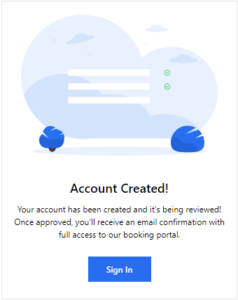
- Next, your agent will review your account and approve it within the next 24 hours. Once approved, you’ll receive the confirmation by email and you’ll be able to Sign In to the booking portal.
You won’t be able to sign in to your account as long as it is pending. So if you try to sign in before it’s approved, you will see the message: “Your account is pending approval”, as shown in the image below.
Create a Booking
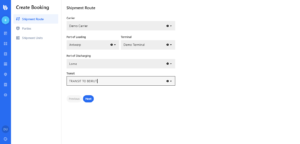
- To create a booking, click the + button on the left sidebar navigation. In the Shipment Route tab, enter the Carrier’s name, the Port of Loading, the Terminal, the Port of Discharging, and the Transit, by entering the first few letters and selecting the corresponding name from the dropdown list.
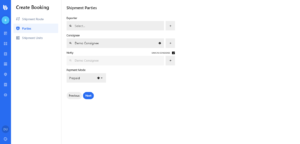
- Next, switch to the Parties tab.
- Enter the Exporter’s name. If you want to add a new Exporter that is not added to the system before, click the + button, and fill in the corresponding details in the new form, before carrying on.
- Enter the Consignee’s name. Similarly, if you don’t find it, click the + button, and fill in the corresponding details in the new form.
- Fill in the name of the person to Notify of the arrival of the cargo. If you want to add a new person that is not added to the system already, push the + button, and fill in the corresponding details in the new form.
- Select the Payment Mode.
- Click Next.
- In the Shipment Units tab, select VIN or Serial from the dropdown list, and enter the corresponding number.
- Once a VIN is entered, it will be decoded and some fields will be auto-filled as shown in the image below.
- Enter the rest of the fields.
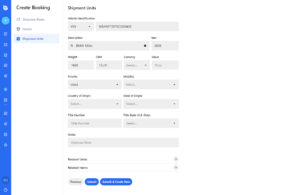
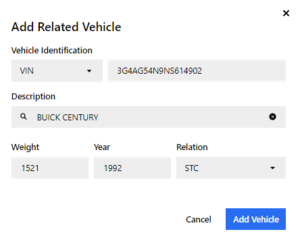
- To add Related Units (i.e. units that are inside the main unit or attached to it. E.g. a truck, and another vehicle loaded on top of this truck, or a truck head and an attached trailer), click the + button to the right. A new window will open.
- Enter the VIN. All the other fields will be autofilled.
- Select the Relation type (STC or Attached).
- Click Add Vehicle, and the related unit will be added to the booking.
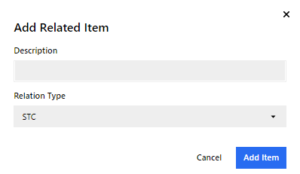
- To add Related Items, click the + button to the right. A new window will open.
- Enter the item’s Description.
- Select the Relation Type (STC or Attached).
- Click Add Item, and the related item will be added to the booking.
- Next, click Submit to submit the booking, or Submit & Create New, to submit the current booking and keep the Shipment Route and Parties tabs to create another booking with the same info.
Booking Search
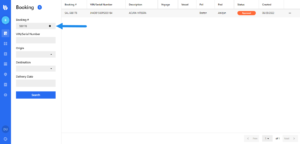
- To search for a specific booking, select the Bookings icon on the sidebar navigation.
- Enter the Booking #, the VIN/Serial Number, Origin, Destination, or/and Delivery Date.
- Click Search.
Stock Search
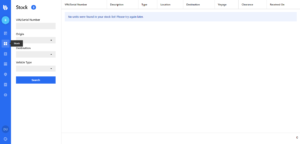
- To check the shipments in the stock (i.e. the list of units that have arrived at the port of loading and have not been loaded yet), select the Stock icon on the sidebar navigation.
- Enter the VIN/Serial Number, Origin, Destination, or/and Vehicle Type.
- Click Search.
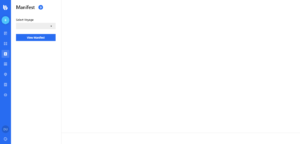
View Manifest
- To view the Manifest (i.e. the list of shipments or units loaded on a specific voyage), select the Manifest icon on the sidebar navigation.
- Enter the Voyage Number or select the corresponding voyage from the dropdown list
- Click View Manifest.
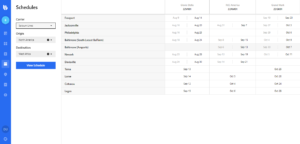
Schedules
- To view the voyage schedule for a specific carrier, select the Schedules icon on the sidebar navigation.
- Select the Carrier name from the dropdown list, the Origin and the Destination.
- Click View Schedule.
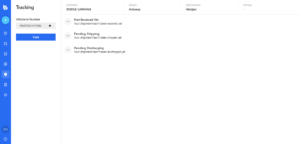
Tracking
- To view the tracking details of a specific unit, select the Tracking icon on the sidebar navigation.
- Enter the unit’s VIN/Serial Number.
- Click Track.
This will show you whether the unit is Received, Shipped, or Discharged.
Invoices
- To view the Invoices, select the Invoices icon on the sidebar navigation.
- You can enter the Invoices NO., the VIN/Serial, select a Voyage, a Port of Discharge, or/and the Payment Status, and click Search, or simply hit the Search button without choosing any filter to get the list of all invoices.
(Note that the Invoices’ section is not available for all agents.)

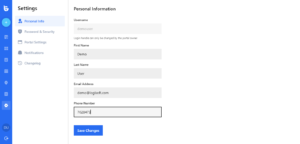
Account Settings
Personal Information
To modify your personal information, select the Settings icon on the sidebar navigation.
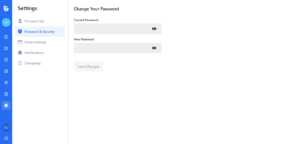
Password & Security
To change your Password, switch to the Password & Security tab.
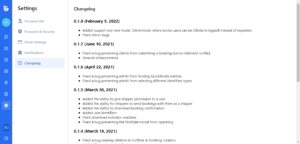
Changelog
And finally, to view all the new features and bug fixes, go to the Changelog tab.